When you need a typeface that feels like a warm hug for your next design project, the Wiggle Whistle Font is a fantastic choice. This chubby, bubbly display typeface brings a hand-drawn, playful energy to any layout. Instead of rigid lines, you get soft, rounded shapes that bounce across the page. It is especially useful for small business owners, crafters, and print-on-demand sellers who want their packaging or signage to look friendly and approachable without hiring a professional lettering artist. You can easily grab it from the main display font collection to start experimenting right away. The welcoming vibe it creates instantly makes customers feel at ease, which is exactly what you want for lifestyle brands and local shops.
What kind of projects work best with bubbly lettering?
Bubbly, rounded letters naturally draw the eye and evoke a sense of nostalgia and comfort. This makes them ideal for food and beverage branding. Think about ice cream shop menus, artisan bakery labels, artisanal jam jars, or local coffee stand signage. The wavy forms add a subtle movement that makes simple words feel energetic and alive. If you are designing merchandise for children, planning a baby shower, or creating cute sticker sheets for your online shop, this style of lettering helps your products stand out on crowded digital and physical shelves. Sometimes you might want to pair it with something slightly more structured or eccentric, like the playful strokes found in this quirky doodle typeface, to create a nice visual contrast in your overall layout.
How do you balance playful fonts in a professional layout?
Using highly stylized lettering requires a bit of balance so your design does not look messy or overwhelming. Since the main typeface is bold and takes up a lot of visual space, keep your supporting text simple and clean. Pair it with a highly legible, minimalist sans-serif for your body copy, ingredient lists, or pricing details. This ensures your customers can easily read the important information while still enjoying the fun vibe of the main title. Negative space is your friend here; give the chunky letters plenty of room to breathe. For example, if you are working on a vibrant event poster and need a secondary header that feels energetic but slightly more grounded, you might look into a bold brush-style alternative to complement the softer curves of your primary text.
Is this typeface easy to read on small screens and physical products?
Readability is always a top priority, especially for print-on-demand sellers creating t-shirts, tote bags, or ceramic mugs. Because the letters are thick and have generous internal spacing, they hold up very well when printed on fabric, stamped on paper, or cut from adhesive vinyl using a crafting machine. However, you should avoid using it for long paragraphs, tiny disclaimers, or dense blocks of text. Stick to short phrases, brand logos, and large headlines where the personality of the letters can truly shine. If you are designing apparel and want to explore other retro or chunky styles for your clothing line, checking out a collection of athletic-inspired lettering can give you more options for different garment styles. On the other hand, for purely nostalgic, pixel-art style projects, you might prefer a classic retro gaming typeface instead of a bubbly script.
How do you prepare the files for cutting and printing?
If you are using a Cricut or Silhouette machine to cut vinyl decals, the thick lines of this font are a huge advantage. Thin, spindly fonts often tear during the weeding process, but these chubby shapes stay intact. Before sending your design to the cutter, make sure to convert your text to outlines. This prevents missing font errors and ensures the wiggly edges remain smooth. When printing on dark fabrics, consider adding a subtle offset shadow or a thick white border around the text to make the colors pop.
Final design checklist before exporting
Before you finalize your next design, run through this quick checklist to ensure your typography looks its best:
- Check the kerning: Even with hand-drawn styles, adjust the spacing between specific letter pairs if they look too cramped or too far apart.
- Test on the final medium: Print a sample on your actual sticker paper or fabric to see how the thick lines and wiggly edges hold up in real life.
- Limit your colors: Let the bouncy shapes do the heavy lifting by sticking to a simple, cohesive color palette of two or three shades.
- Mix your weights: Use the bold display style for the main title and a simpler, lighter font for the subtitle to create a clear visual hierarchy.
- Convert to outlines: Always change your text to paths before sending files to a commercial printer or a vinyl cutting machine.
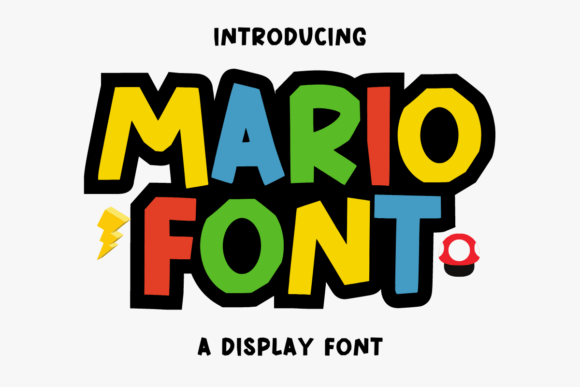 Mario Font: Retro Typography for Creative Projects
 Oopsy Doodle Font: Playful Lettering for Creative Projects
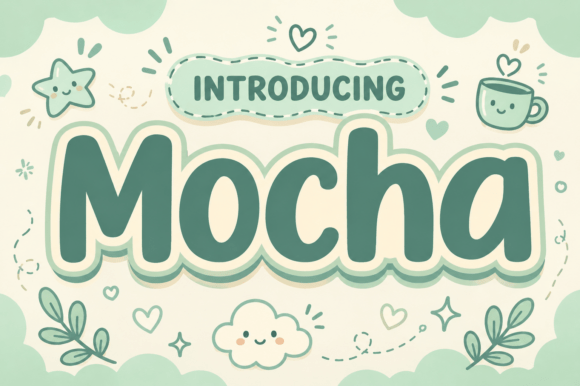 Motcha Font: Creative Typography for Your Projects
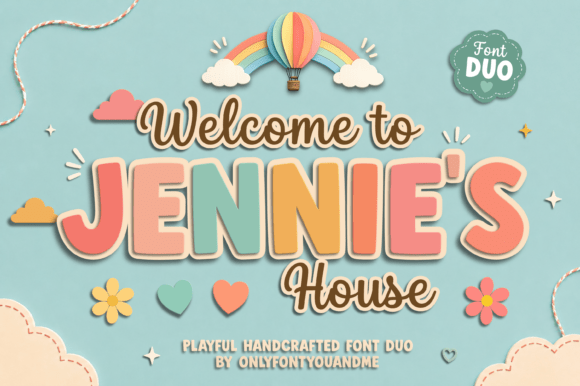 Jennies House Font: Rustic Charm for Creative Designs
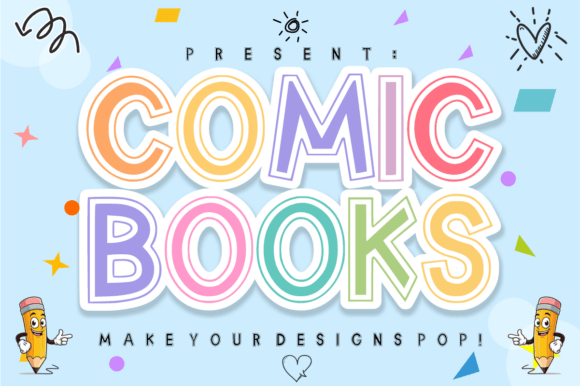 Choosing the Best Comic Books Font for Graphic Novels
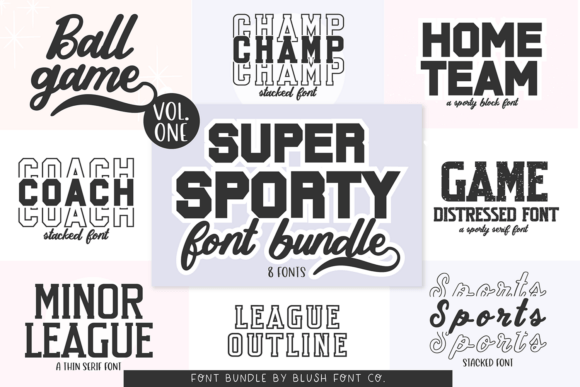 Super Sport Bundle Font for Dynamic Athletic Designs